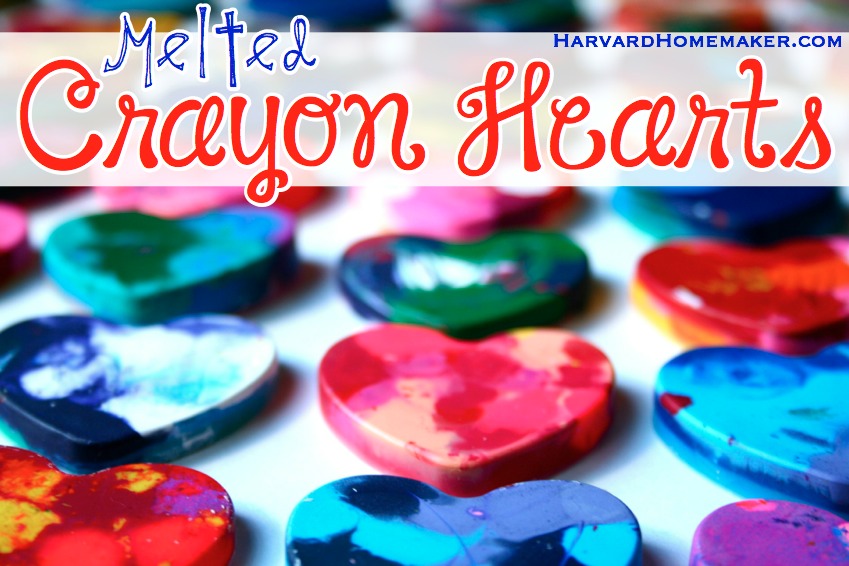
Looking to do something different for Valentine’s Day this year with your kids? Why not make use of all those old and broken crayons! It’s so easy to give those crayons some new life… turn them into coloring hearts! A fun alternative to candy on Valentine’s Day! (Or if your kids INSIST on passing out something sweet to each classmate, you can always pair these cute hearts with a piece of candy, too! That’s our plan…)
We are huge fans of tie-dying (we make shirts almost every summer with our extended family… the cousins love it!), and this is much the same. It’s so neat to see how each heart turns out because you’re never quite sure how the colors will blend. My girls were ooh-ing and ahh-ing as we popped each heart out of the pan.
See below for how simple this really is!
If you’re looking for more fun Valentine ideas, don’t miss these photo cards where it looks like your child is holding a sucker!
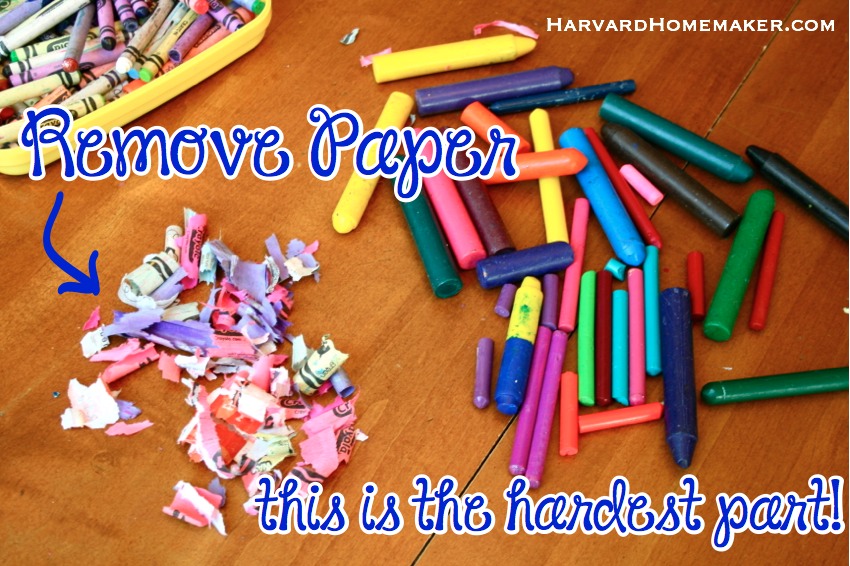
STEP 1: REMOVE ANY PAPER FROM CRAYONS
This is the most tedious part. Somehow the kids helped me with this for all of two minutes, and then like quiet little mice, they were suddenly gone!
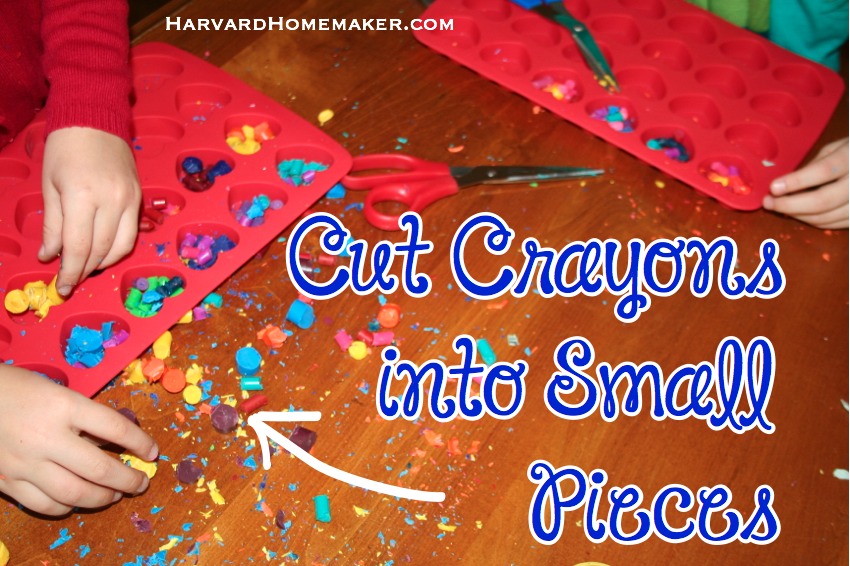
STEP 2: CUT CRAYONS INTO SMALL PIECES
We found it easiest to use a scissors, but you could also break the crayons into pieces with your hands. I eventually became the one doing the cutting, and my daughters just grabbed the pieces I cut from the pile. It’s really easy to cut the standard crayons, but we had some larger “baby’s first crayons” as well, and those about broke my wrist! I don’t recommend using those unless you are trying to make some good use of old crayons that you have.
TIP: I UNDERESTIMATED THE MESS THIS WAS GOING TO CREATE! YOU MAY WANT TO LAY OUT SOME NEWSPAPER TO CATCH ALL THE CRAYON DEBRIS. (And yet another reason I have yet to finally pull the trigger on a new kitchen table! This one gets a lot of love!!)
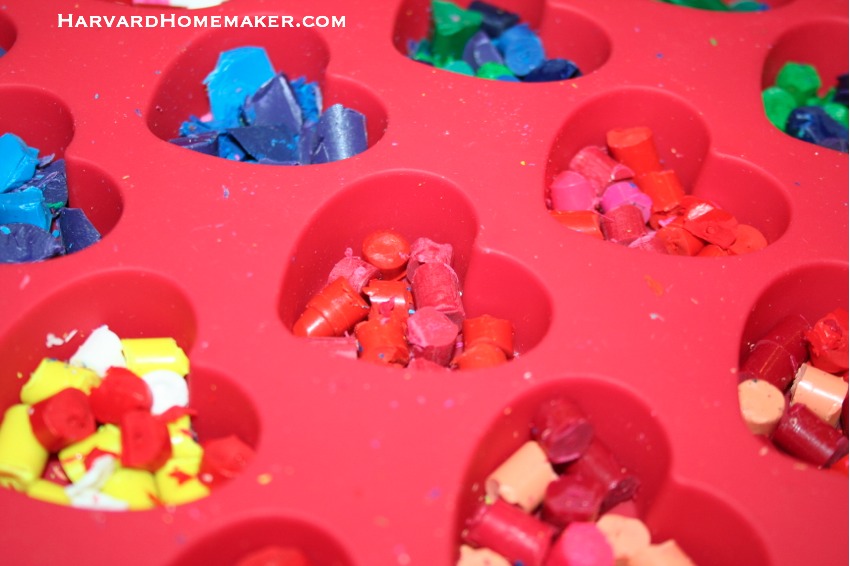
STEP 3: PLACE CRAYON PIECES IN SILICONE HEART PAN
I found the pan below at Wal-Mart (I bought 3 so my older girls could all do this at one time). I couldn’t find the exact one to link to for you, but here is a similar pan for reference. My pans were perfect because I could push the finished hearts out with my hands since pans like this are flexible. As a general rule, we tried to use no more than 4 colors per heart for fear of them turning brown/gray in the end! We wanted happy, colorful hearts!
![]()
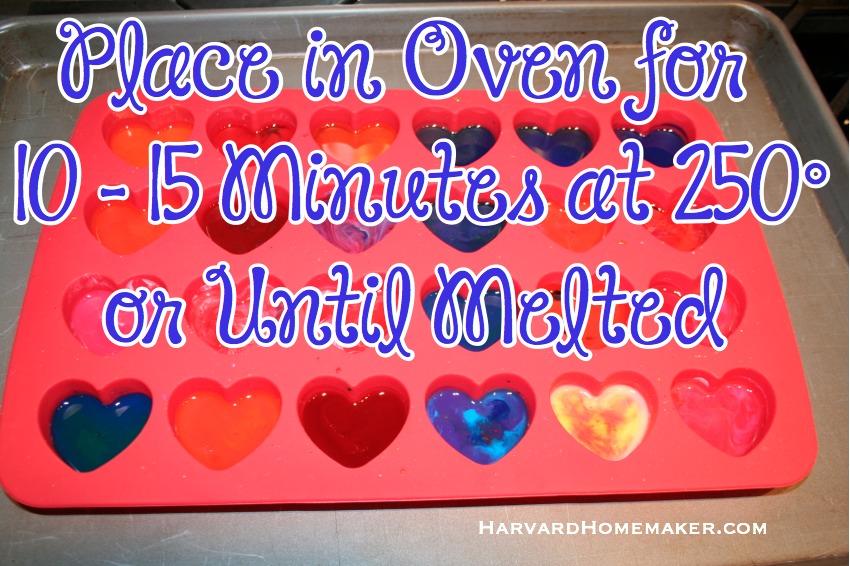
STEP 4: PLACE IN OVEN UNTIL MELTED
Preheat your oven to 250° and “bake” for 10 minutes or until the crayons melt. I was worried that I’d spill melted wax all over as I was taking these flexible pans out of the oven, so I placed each pan on a cookie sheet for stability. The small crayons were all melted within 10 minutes, but the larger crayons I used (the ones that almost broke my wrist while cutting them into pieces!) weren’t melting as quickly. So I finally turned the oven up a bit. Next time I would probably avoid the extra-large crayons altogether!
STEP 5: WHEN MELTED, USE A TOOTHPICK TO SPREAD COLORS
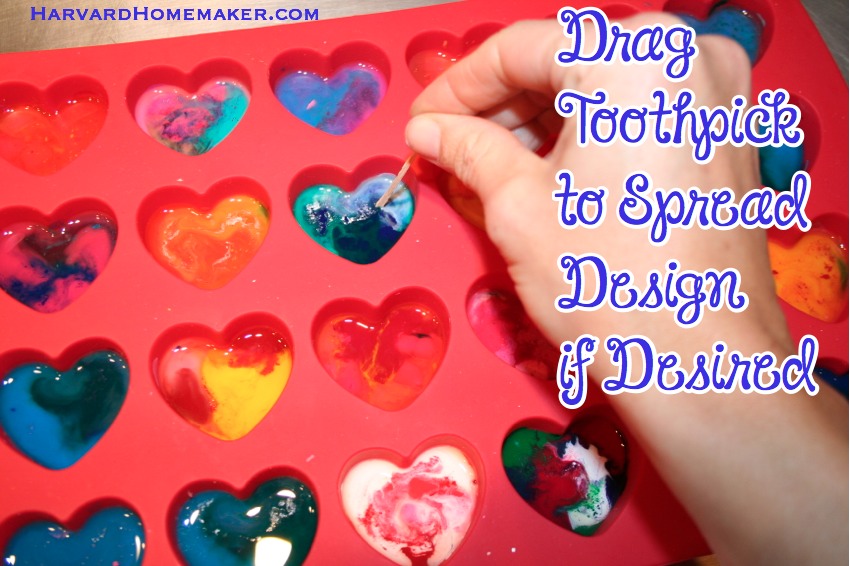
This step is optional. I decided to drag a toothpick around in some of the hearts to spread the color a bit more (I just used the same toothpick for all the hearts). It made for some neat effects!
STEP 6: LET COOL ON COUNTER AND THEN IN FREEZER
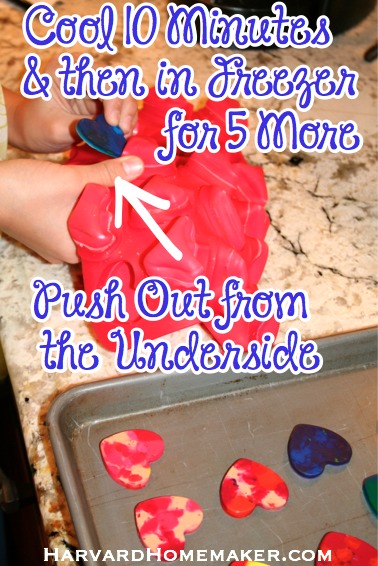
Let cool until set, about 10 minutes. Then place in freezer for another 5 minutes or so. Remove from pan. You can push from the underside with your hands to work each heart out. It should pop out fairly easily. (Surprisingly, I didn’t even break one!)
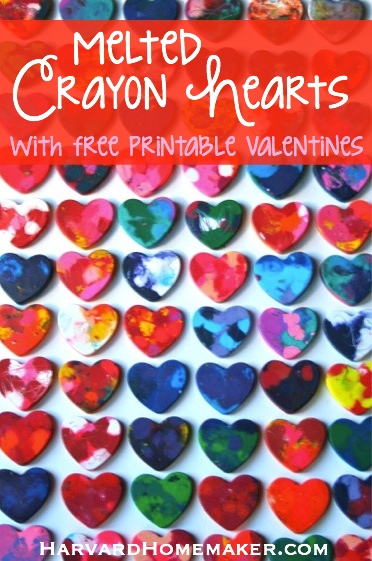
HOW COOL ARE THESE?!
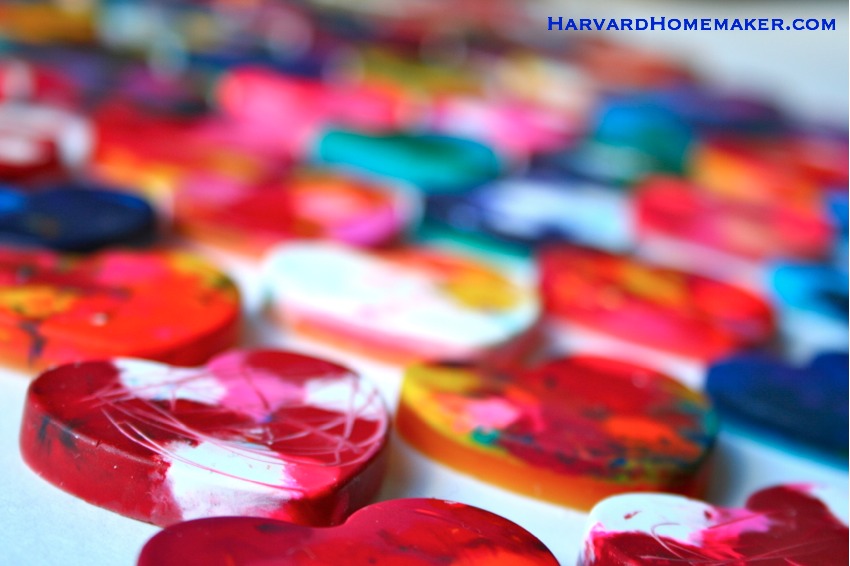
If you look closely at the pink and red heart that’s in focus, you can see some toothpick marks that resulted.
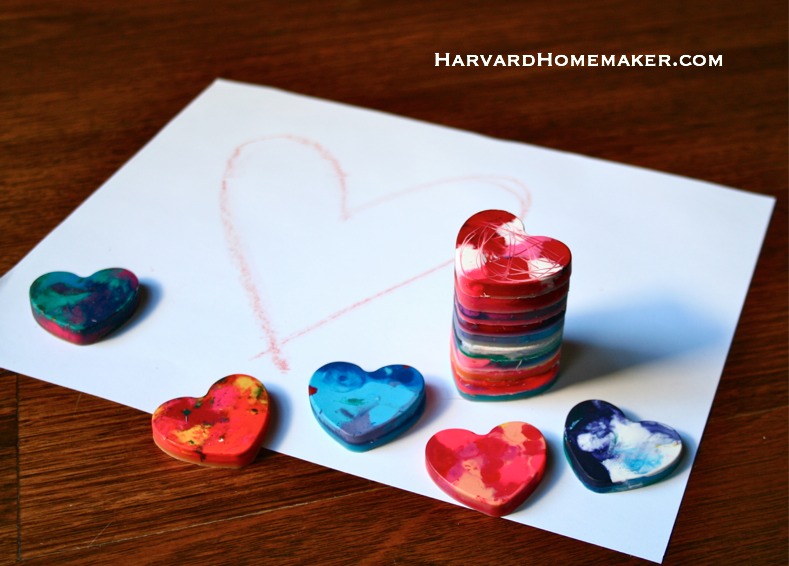
JUST LIKE ANY CRAYON, YOU CAN STILL COLOR WITH THEM!
FREE PRINTABLE VALENTINES TO COORDINATE
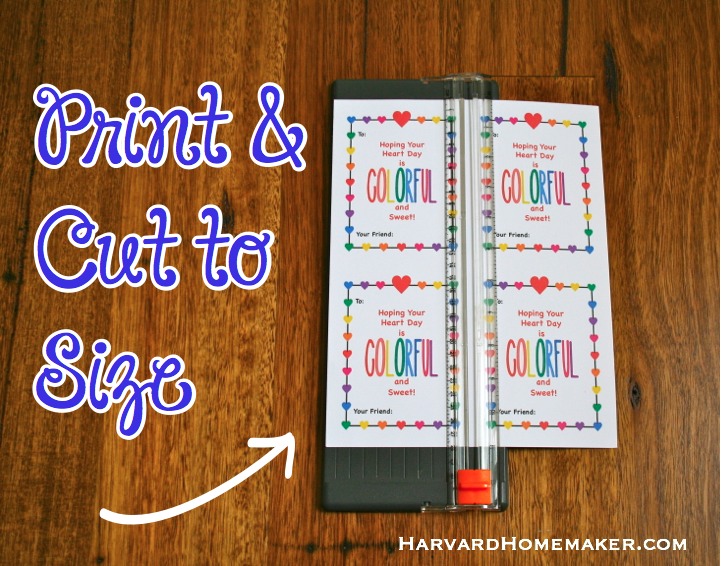
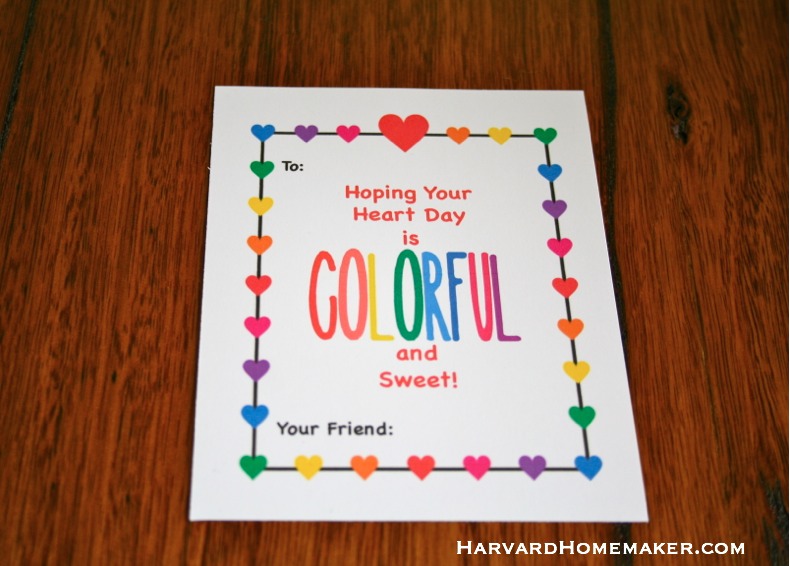
I created the cards below to go with the heart crayons. You can download the printable here if you’d like to print your own (it’s free!): Valentine’s Day Colorful Cards
I printed mine on plain white cardstock.
You could tie the cards to a small bag holding the crayon heart/candy or tuck everything inside a small envelope… that’s what we plan to do. I used to have my own hand-designed stationery business, so I still have boxes of blank envelopes in my closet! If you want an envelope that’s a perfect fit, the cards I made will fit an A2 envelope (4 3/8 x 5 3/4).
I find that it’s easiest to cut apart cards like these (and things like school pictures where you want a perfectly straight edge) with a paper cutter like this. You can find them in just about any store with a craft section. They are the best!!
Cut the cardstock down the middle in both directions. That means the cards will end up being 4 1/4 x 5 1/2.
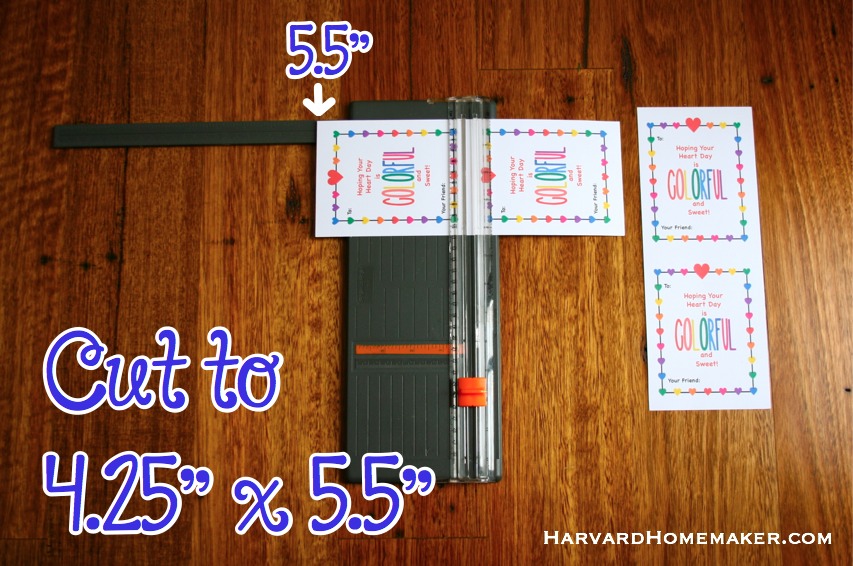
Your kids can fill in the names on their own, and there is plenty of room on the back for a note or a picture if they want to make it even more personal.
If you’re looking for more classroom Valentine ideas, don’t miss the photo cards we made last year where it looks like my girls are holding a sucker! My daughters loved taking the pictures for those, and the Valentines were a hit among their classmates!
What Valentine ideas can you share? I’d love to know! I’m always brainstorming for wordings and creative ways the kids can be involved in doing something nice for their friends.
If you’d like to keep up with me and my blog, please follow along via Facebook, Pinterest, Twitter, or Instagram.







I love this and want to download your free printable… but it is saying that I either have to subscribe to the service in order to download the printable, or that I have to upload something of my own in order to download yours for free. Am I doing something wrong? Thank you for your adorable Valentine idea that is not candy! :)
I too couldn’t get it to work. your not doing anything wrong.
So, so sorry!! Ugh! It’s supposed to be free!
your link to download them for free doesn’t work. I have tried everything. I also see others can’t do it as well. I constantly find this on pinterest where people put links to printable stuff and say its free, when its not. hopefully you can help us.
I am so, so sorry!! It’s supposed to be free. My neighbor printed hers with no problem. I haven’t been able to blog much lately, so I haven’t been on top of the comments. I would have emailed you the file directly. I will have to look into things on Scribd. I set this up a long time ago – perhaps they changed their policy. I don’t make any money from Scribd – I simply uploaded the file there so you could all find it. I apologize!
i did this same thing a few years ago but I made gingerbread boys and Christmas trees. Turned out great!!
Cute idea! :)
I LOVE your valentine/crayon printable! I see that you are offering it to be downloaded for free. However when I click on the link that directs me to scribed.com, I am unable to download unless I pay a fee. Are you still offering this as a free printable?
Oh shoot! I’m sorry you were having trouble. It should be been free over on Scribd! :( I would have emailed you the file directly, but I’m just seeing this note now – so sorry!
Hi,
Is your free crayon Valentine printable still available? I tried to download it and it says it’s been removed. TIA!
Yes, sorry about that! I just updated the post – it should be working now!
Love this but I can’t get anything to print
I think something had gone awry – it should be working now! Sorry about that!